

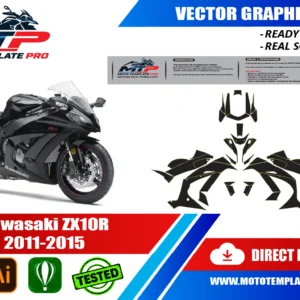

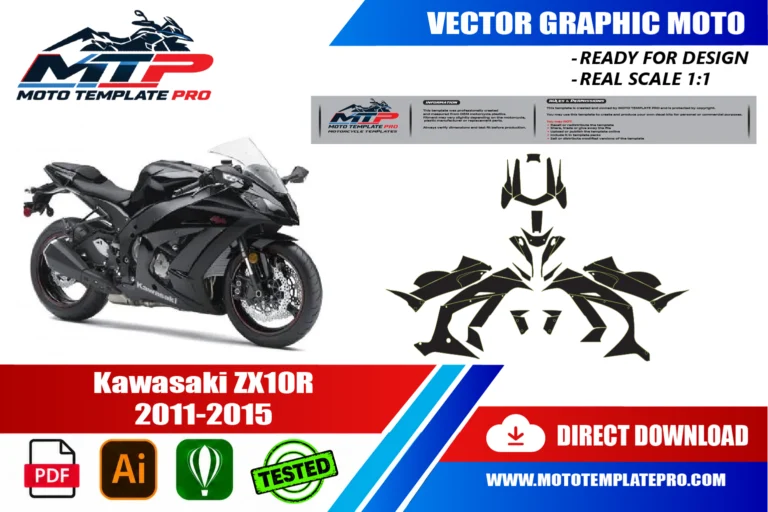
This Kawasaki ZX-10R 2011-2015 vector template reproduces the Kawasaki ZX-10R 2011-2015 at real scale (1:1) as an editable vector file.
Table of Contents
Kawasaki ZX-10R 2011-2015 Vector Template: Overview
Use this Kawasaki ZX-10R 2011-2015 vector template as an accurate base for decal kits, vinyl wraps, custom liveries and other graphics on the Kawasaki ZX-10R 2011-2015. It is made for graphic designers, wrap installers and sticker manufacturers.
The Kawasaki ZX-10R 2011-2015 template covers the generation that reset the ZX-10R after 2010: a more compact, rounded superbike with a shorter fairing, line-beam headlights and the confident stance that made it a favourite on both road and track. The outlines are drawn at real 1:1 scale, so decals and wraps can be planned on true proportions.
This is a bike for classic superbike thinking. Rounded panels, a clear division between nose, flanks and tail and a long tradition of two-tone Kawasaki-style schemes make it a rewarding subject for colour splits, pinstripes and number-board layouts that never go out of fashion.
The files are editable vectors in AI, PDF and CorelDRAW, with layers grouped by part. They are a starting point for your own artwork, not finished art, and they are not an official or manufacturer-approved drawing.

The template is provided as an editable vector file, compatible with Adobe Illustrator, PDF and CorelDRAW. It is a starting point for your own design work rather than a finished, ready-to-print graphic: a precise outline of the panels that you can use to position decals, plan a wrap layout or prepare a sticker kit at the correct scale. For background on why vector files are the standard for wrap and decal production, see the Adobe comparison of raster and vector formats.
How the Kawasaki ZX-10R 2011-2015 reshaped the superbike’s face
The 2008 to 2010 ZX-10R had a much more angular front end. For 2011 Kawasaki redesigned the bike from the ground up: a new aluminium twin-spar frame built from cast pieces, a horizontal back-link rear shock, a 43 mm Showa Big Piston Fork and a new 998 cc engine. The launch material also described a bike roughly 22 pounds lighter than the 2010 model.
The electronics were a headline too. Sport Kawasaki Traction Control (S-KTRC) offered three levels, there were three power modes, and a Bosch-based anti-lock system was available as an option. For a designer, though, the shape matters most. The bodywork became more rounded, the fairing shorter thanks to line-beam headlights, the indicators moved into the mirrors, and the rear fender was designed to come off easily for track use.
One reference notes that in 2013 the front steering damper became an electronically controlled Ohlins unit. The generation also earned its racing reputation: Tom Sykes won the 2013 Superbike World Championship and Jonathan Rea took the 2015 title, both on ZX-10Rs.
We did not verify every detail of each model year between 2011 and 2015, and the 2016 bike is a separate generation with its own fairing. For the Kawasaki ZX-10R 2011-2015, treat the year range as the template listing and confirm shapes on the real machine.
A map of the Kawasaki ZX-10R 2011-2015 bodywork, nose to tail
Learn the parts before you draw, because each one behaves differently under vinyl. The nose carries the twin line-beam headlights and the air intake, with the screen above. The side fairings run along the flanks, and the lower fairing, or belly pan, closes the underside around the engine.
Behind the rider sit the tank, the seat unit and the tail, with a removable rear fender below. At the front there is a fender over the tyre, and the mirrors carry the indicators, so they interrupt a long line on each side.
Where this bike gives you room
- Nose and screen surround: compact, good for a number board or a bold colour block.
- Side fairings: the largest surfaces, with generous space for stripes and names.
- Lower fairing: low and simple, ideal for a dark base colour.
- Tail section: neat and rounded, suited to a secondary number or a small emblem of your own.
Each part sits on its own layer group in the file, so you can build a design one zone at a time. Print the side fairing at 1:1 and hold it against the bike to see where seams and fasteners will cut across the artwork. On the Kawasaki ZX-10R 2011-2015, the join between the nose and the side fairing is a natural place to stop a stripe or change colour.
Telling years apart on the Kawasaki ZX-10R 2011-2015: what we verified
Honesty first: we verified the big picture, not every year. Mechanically, the 2012 bike was a carry-over from 2011, but a US launch preview lists new and restyled colours for that year, among them Passion Red with Metallic Spark Black and a restyled Lime Green with Metallic Spark Black, plus a grey option. Colours differ by market, so do not assume your bike matches.
ABS was an option on the generation, and one retailer states that ABS and non-ABS bikes share bodywork, the differences being in the brake parts. The same retailer states that bodywork is interchangeable across 2011 to 2015 and does not fit the 2016 bike. These are supplier statements that we did not test, so use them as a prompt to compare, not as a guarantee.
A retailer also lists a special edition for 2014 and 2015, but we did not verify what changed on it. If your bike wears special graphics, the original decals can sit over a panel edge or around a curve in a way that differs from a plain bike.
The practical approach is to photograph the nose, both sides and the tail, and compare them with the template previews. Look at the shape of the screen, the position of the mirror indicators and the edges of the lower fairing before you decide that your Kawasaki ZX-10R 2011-2015 matches.
Classic superbike livery ideas for the Kawasaki ZX-10R 2011-2015
The rounded shapes of this generation suit schemes that have worked on superbikes for decades. The first is the heritage two-tone: lime green over black, split on a clean line from the nose to the lower fairing, with a thin contrast line along the edge. It looks authentic without needing a single copied logo.
The second is red and black, which the 2012 palette hints at. Use the red on the upper areas and the nose, and let black take the lower fairing and the tail. A white number board on the nose then pops without further effort.
For a quieter look, pick one dominant colour and add a pinstripe along the main character line of the side fairing. A pinstripe, even at two or three millimetres, brings finesse. Keep it parallel to the edge at a constant distance, and break it only where a seam forces you to.
If you like a retro feel, a large number in a circle on the nose and a smaller one on the tail recall road-race bikes of earlier decades. Invent your own fonts, sponsor names and shapes rather than copying real teams.
Because the Kawasaki ZX-10R 2011-2015 has fairly generous side panels, a single sweeping stripe can carry the whole design. Resist the urge to fill every surface. Space is part of a classic look.
Drawing a Kawasaki ZX-10R 2011-2015 livery: from vector outline to cut file
Print the nose and one side fairing at 1:1 before you invest in a full design. Hold the sheet on the bike, step back three metres and judge the proportions. If the print does not match, check printer scaling first.
Lock the original outlines on their own layer and build the artwork above. Add a few millimetres of bleed where film wraps around an edge, put the cut path on a spot-colour layer, convert text to outlines and add registration marks outside the artwork.
Long, continuous stripes are the signature of this style, and they are also the hardest part to fit. Where a stripe crosses a seam, split it into two pieces with a small overlap, or end it exactly on the seam and restart on the next panel. Mark the overlap on the file, so the printer can keep it consistent from the left to the right side.
For pinstripes, check the minimum line width your cutter and film can handle, and test a short length before cutting the whole run. Thin lines lift if the film is too soft or the blade is worn.
Number pieces in the fitting order and keep a master file that you never edit directly. When you work on a Kawasaki ZX-10R 2011-2015 for a customer, that master saves hours when a colour needs adjusting.
Vinyl and care on an older Kawasaki ZX-10R 2011-2015
A bike from this generation is now many years old, and that changes the preparation. Plastic panels may be faded, scratched, repainted or repaired. Inspect every panel in daylight for hairline cracks, old filler and loose paint, because vinyl will show every defect and cannot hold on a failing surface.
Clean thoroughly with isopropyl alcohol, remove wax and polish residue, and let the panel dry. If you are covering factory paint, test adhesion on a small hidden area first. Aftermarket paint can behave differently, and a poor repaint is the most common reason for edges lifting.
Choose cast vinyl for the nose and the curved parts of the fairings, and add a clear laminate against fuel, UV and road film. Use the same laminate everywhere. Work from the centre outward with a felt-edge squeegee, use gentle heat to relax the film over curves and avoid over-stretching printed areas.
Give the adhesive a day or two before washing. Hand-wash with a soft sponge, avoid pressure washers near edges, and store the bike out of intense sun if you can. Time and weather are the real tests of any Kawasaki ZX-10R 2011-2015 graphic.
Is this the right Kawasaki ZX-10R 2011-2015 template? Neighbours and common mistakes
Look at the neighbours. The 2008 to 2010 bikes have a more angular front end, and the 2016 bike has a revised fairing, so do not assume that outlines carry across. Compatibility can vary with exact variant, year and aftermarket parts, and we do not claim that this template fits every bike. Compare it with the real panels before printing.
- Trusting the model year alone instead of the actual shape.
- Forgetting that the mirrors carry the indicators and interrupt long lines.
- Ignoring repaired or replaced panels, which can differ from standard.
- Covering lamps, sensors or openings with film.
- Filling every surface instead of leaving calm space.
It also helps to decide what the template is for. If you are building a full kit for a customer, the order of work matters: measure first, compare the outline with the real panels, then draw. If you only want one stripe on your own bike, a printed nose and a single side fairing may be enough to judge the fit. Either way, a proof on real film is far cheaper than reprinting a whole set after a mistake.
If your Kawasaki ZX-10R 2011-2015 carries aftermarket fairings, a different screen or a race tail, send photographs to the shop before ordering. A short record of the nose, both sides and the rear makes the decision easy.
How This Template Is Built
This Kawasaki ZX-10R 2011-2015 vector template is rebuilt as a fully editable vector outline from the real panel proportions of the Kawasaki ZX-10R 2011-2015, rather than a rough tracing or a stretched photo. Working at true 1:1 scale means printers and installers can output panels straight from the file without rescaling, which keeps stripes, sponsor logos and pinstripes aligned exactly where they were designed.
Because the panel outlines are kept as separate, editable shapes, you can turn individual sections on or off while you design and export only the panels you actually need for production. On a vehicle of this kind (sport bike), the typical panel groups include the tank cover, fairings, side panels and tail section. Before printing, always measure a panel on the real vehicle against the file, since small production differences can happen and a quick check avoids a costly reprint.
What You Can Use This Template For
- Full or partial vinyl wrap layouts
- Decal and sticker kits
- Custom liveries
- Tank and fairing graphics
- Sponsor logo and branding placement
This Kawasaki ZX-10R 2011-2015 vector template suits riders planning a full wrap or a partial decal kit, wrap shops quoting jobs sight-unseen, and sticker manufacturers who need a reliable base file instead of starting from photographs. Because the panel outlines are separated rather than merged into one flattened shape, you can isolate a single panel and export only what you need, which saves time when a project only touches part of the vehicle.
Files Included and How to Use Them
After purchase you get an instant digital download of the Kawasaki ZX-10R 2011-2015 vector template in three formats. A typical workflow takes only a few steps:
- Download the file from your account or order email right after payment.
- Open the AI, PDF or CorelDRAW version in your vector software.
- Hide the panels you do not need and place your graphics, logos and colors on the rest.
- Print one test panel at 1:1 and check it against the real vehicle.
- Export the final artwork for your printer or cutter.
Printing, Scale and File Notes
Before you print this Kawasaki ZX-10R 2011-2015 vector template, remember that it is built at real 1:1 scale, so the safest workflow is to print a single test panel first and lay it against the actual Kawasaki ZX-10R 2011-2015 before committing to a full print run. A short test print is cheap insurance against a wasted roll of vinyl, especially around curved sections.
The vector layers are grouped by panel, which keeps the file manageable if you only need a subset of the panels, useful for a partial wrap, a single panel graphic or a small decal pack. If you run into a fitment question that is not covered here, reach out before you print. We would rather answer a quick question in advance than have you reprint a panel.
Also in our catalog: Kawasaki Ninja 400 2018-2023 Vector Template, Kawasaki Ninja 650 2011-2016 Vector Template, Kawasaki ZX-10R Race Bodywork 2016-2020 Vector Template, Kawasaki Ninja ZX-6R 636 2013-2018 Vector Template, Kawasaki Ninja ZX-6R 636 2019-2023 Vector Template, Kawasaki Ninja ZX-6R 2019-2023 Vector Template.
Browse all Kawasaki vector templates.
Moto Template Pro is an independent design resource and is not affiliated with, endorsed by, or sponsored by Kawasaki or any manufacturer.
Which model years does this Kawasaki ZX-10R 2011-2015 vector template cover?
This template is built specifically for the Kawasaki ZX-10R 2011-2015.
Which colours suit a classic livery on the Kawasaki ZX-10R 2011-2015?
Lime green with black is the heritage choice, red with black also works, and a single colour with a fine pinstripe is the quiet option. Keep to two or three colours across the bike, split them on seams where possible, and add a white number board on the nose for contrast.
Can I add pinstripes to the Kawasaki ZX-10R 2011-2015 side fairings?
Yes, and the rounded panels suit them. Keep the stripe parallel to a strong edge at a constant distance and break it only at seams. Check your cutter’s minimum line width, test a short length first, and use a fresh blade so thin lines do not lift from the backing.
Does the Kawasaki ZX-10R 2011-2015 template suit both ABS and non-ABS bikes?
One retailer states that ABS and non-ABS bikes share bodywork, but we did not verify it. Because the template is drawn from the body panels, brake hardware should not matter, yet compatibility can vary with exact variant and year, so compare the outline with your real panels at 1:1 before printing.
How do I design around the mirror indicators on the Kawasaki ZX-10R 2011-2015?
The indicators sit in the mirrors, so they break any line near the cockpit. Stop stripes before the mirror mounts or let them pass below, and never cover lenses with film. Keep the zone around the screen calm, and place stronger graphics on the lower flanks.
Will faded or repaired plastic affect a vinyl design on my Kawasaki ZX-10R 2011-2015?
Yes. Vinyl cannot hide cracks, filler or failing paint, and adhesion may suffer on poor repaints. Inspect each panel in daylight, clean with isopropyl alcohol and test adhesion on a hidden area. If a panel is in poor condition, repair it before you apply any film.
Is this template compatible with other models?
No. Each model and generation has different bodywork, so this template is specific to this platform and differs from every other template in our catalog.
What file formats are included?
The template is provided in Adobe Illustrator, PDF and CorelDRAW, all as editable vector layers rather than a flattened image.
How is the file delivered?
As an instant digital download available immediately after purchase, with no physical items shipped and no waiting on a production schedule.
Is this an official Kawasaki product?
No. Moto Template Pro is an independent business, not affiliated with Kawasaki.

Kawasaki Ninja ZX-10R 2016-2020 Vector Template

Kawasaki Ninja ZX-6R 636 2013-2018 Vector Template
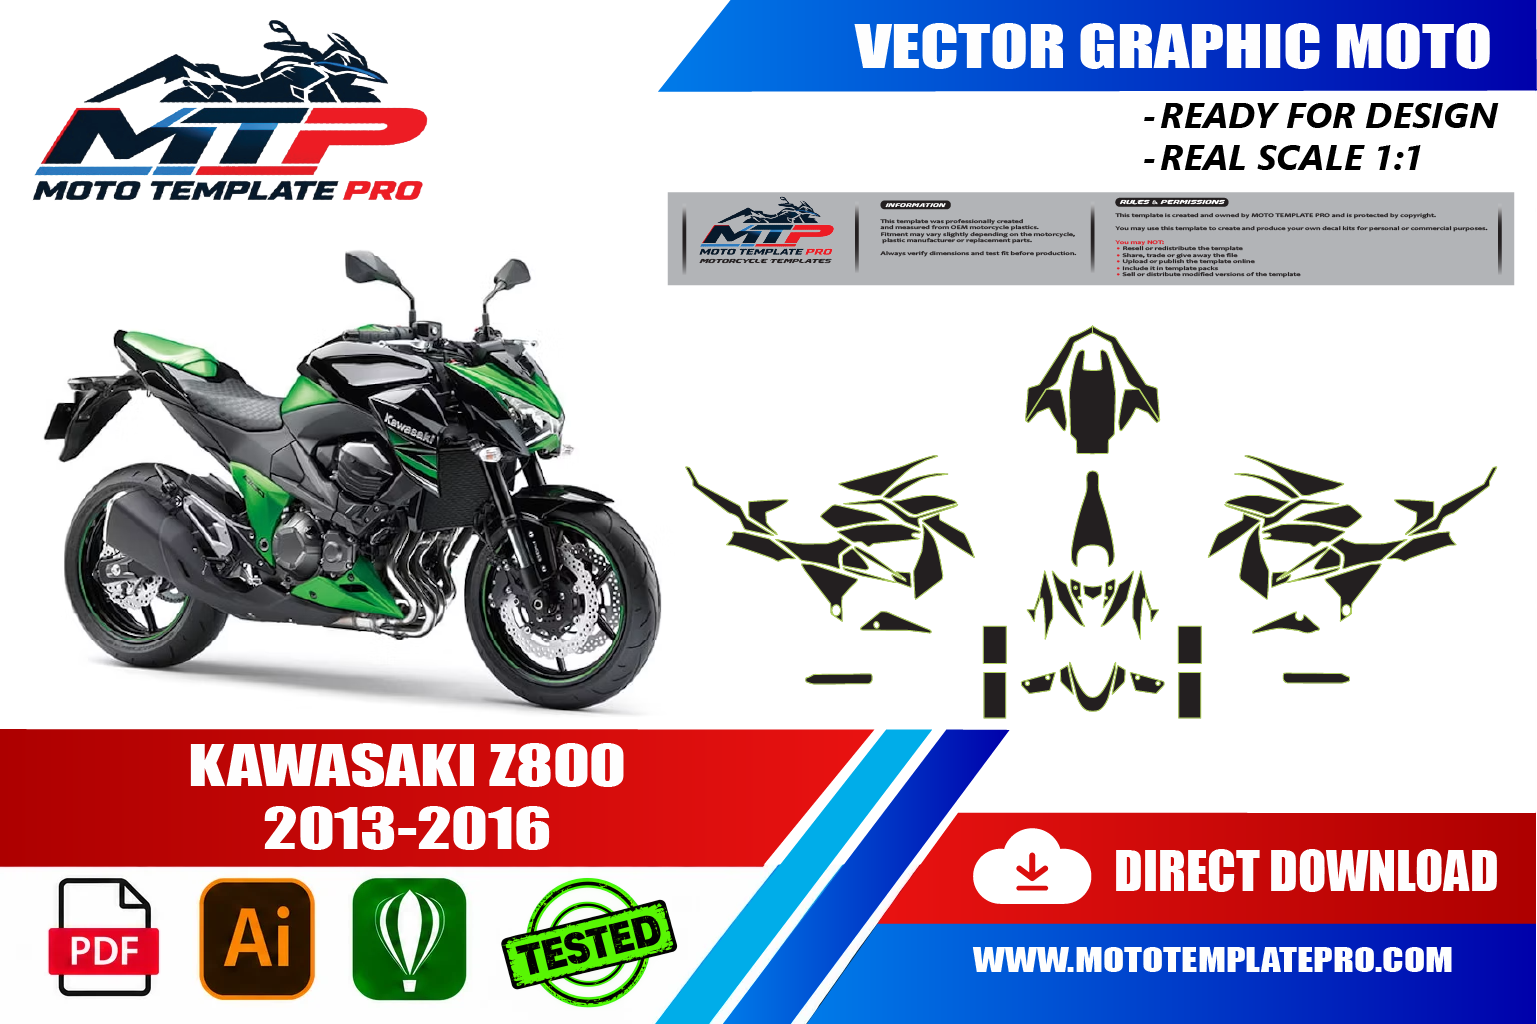
Kawasaki Z800 2013-2016 Vector Template
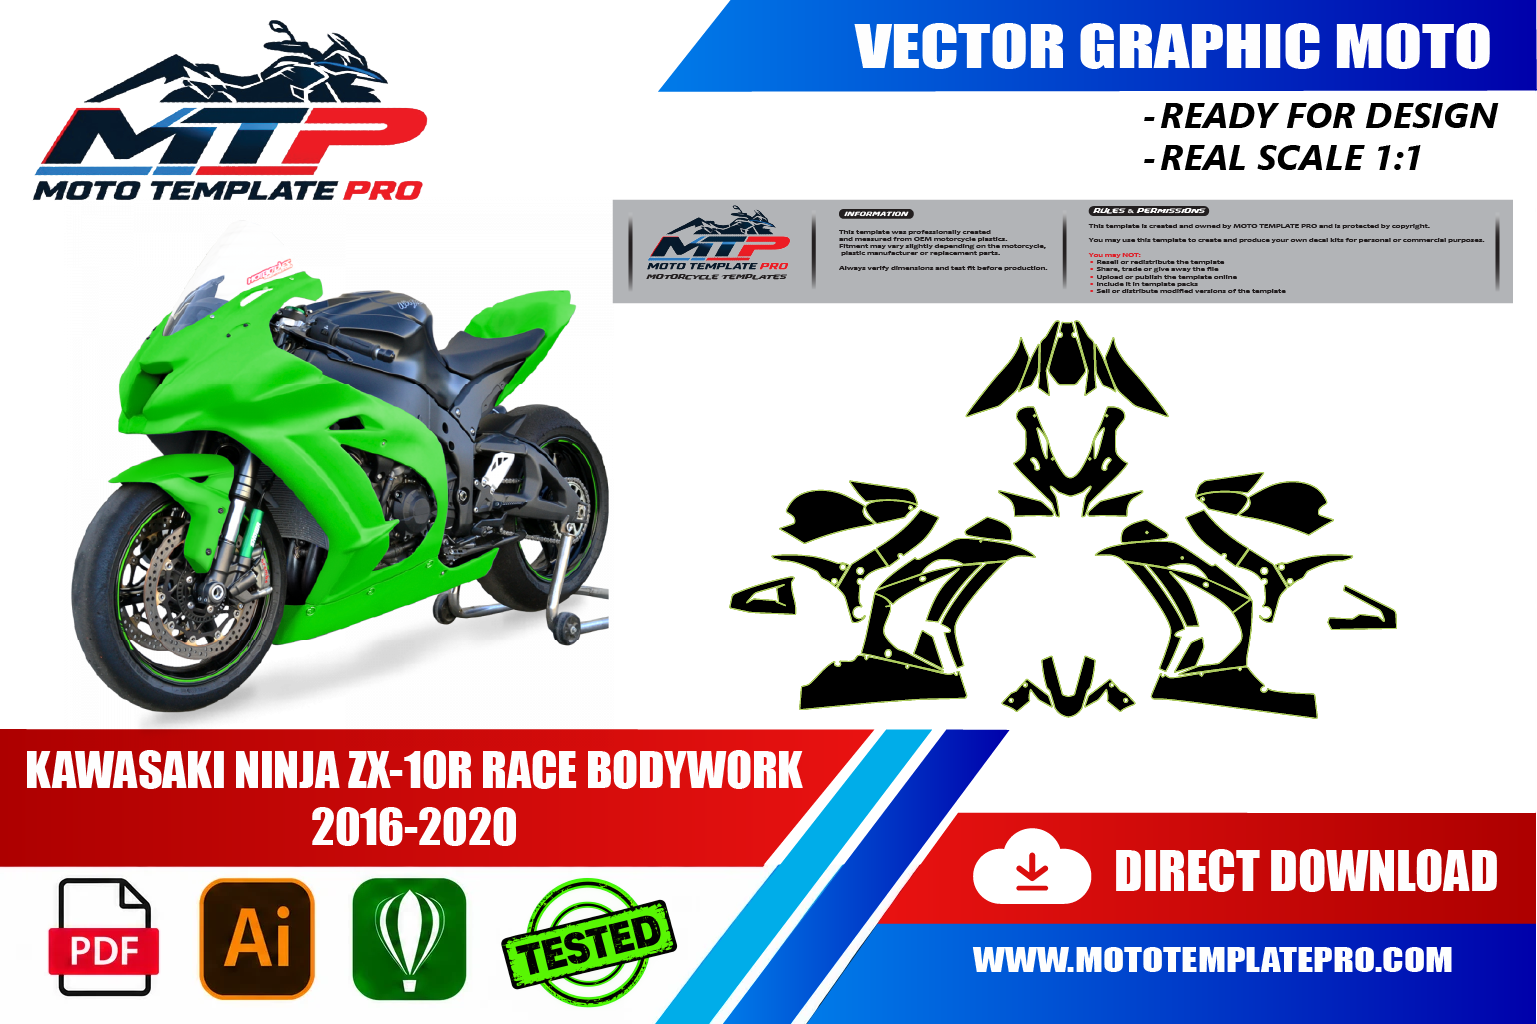
Kawasaki ZX-10R Race Bodywork 2016-2020 Vector Template


Reviews
There are no reviews yet.