


This Husqvarna TE FE 2016-2019 vector template reproduces the Husqvarna TE FE 2016-2019 at real scale (1:1) as an editable vector file.
Table of Contents
Husqvarna TE FE 2016-2019 Vector Template: Overview
Use this Husqvarna TE FE 2016-2019 vector template as an accurate base for decal kits, vinyl wraps, custom liveries and other graphics on the Husqvarna TE FE 2016-2019. It is made for graphic designers, wrap installers and sticker manufacturers.
The Husqvarna TE FE 2016-2019 template covers a clear chapter of the brand’s enduro story, the years when two-stroke TE models and four-stroke FE models were sold as one visual family. Our outlines follow the real body panels at full size, so a kit can start from true shapes instead of guesswork.
Each file contains editable vector contours of the body panels at 1:1 scale, in AI, PDF and CorelDRAW formats, with layers grouped by part. It is a starting point for your own design, not a finished graphic ready to print. Graphic designers, wrap installers and sticker makers use it as a precise drawing board.
On the Husqvarna TE FE 2016-2019, as on any enduro bike, the plastics are tall, narrow and strongly curved. They have to flex, survive boots and knees, and be replaced after a crash. Working from accurate outlines saves hours of trial and error before the first sheet of vinyl is cut.

The template is provided as an editable vector file, compatible with Adobe Illustrator, PDF and CorelDRAW. It is a starting point for your own design work rather than a finished, ready-to-print graphic: a precise outline of the panels that you can use to position decals, plan a wrap layout or prepare a sticker kit at the correct scale. For background on why vector files are the standard for wrap and decal production, see the Adobe comparison of raster and vector formats.
Where the Husqvarna TE FE 2016-2019 range comes from
Husqvarna was owned by BMW from 2007 until 2013, when the Pierer group, which also owns KTM, took over the brand. The Husqvarna TE FE 2016-2019 range belongs entirely to that later period, with two-stroke TE and four-stroke FE machines presented side by side as one enduro family.
The 2016 line-up listed the TE 125, TE 250 and TE 300 two-strokes, the FE 250, FE 350, FE 450 and FE 501 four-strokes, and the street-legal FE 350S and FE 501S. That year Husqvarna announced new 22 mm offset triple clamps, fork protectors with in-mould graphics, a high-grip seat cover, and fresh colours and graphics.
Fuel injection reaches the two-strokes
For 2018 the TE 250i and TE 300i arrived with electronic fuel injection through a 39 mm throttle body, a translucent fuel tank, a new intake snorkel and a separate oil tank that ends premixing. The 2019 range added the TE 150 and fitted a new lithium-ion battery across the line.
Why does this matter for a designer? In these years the graphics, protectors and small plastic parts changed more often than the overall silhouette. The bodywork keeps a clean, angular language, with creases on the shrouds and a flat line from tank to seat, and those creases are natural boundaries for a livery.
The Husqvarna TE FE 2016-2019 also sits at an interesting moment for the two-stroke engines. Fuel injection, oil tanks and electronic management changed how the machines look around the tank area and intake, which is why a template drawn from the real parts is more reliable than an old photo or a hand sketch.
Body panels on the Husqvarna TE FE 2016-2019, named one by one
Learning the vocabulary makes briefing a job much easier. On the Husqvarna TE FE 2016-2019 the front fender is the slim mudguard above the wheel, mounted on the fork. The radiator shrouds, often called scoops or spoilers, wrap the sides of the tank area and guide air toward the radiators.
The side panels, sometimes called side number plates, cover the flanks around the airbox. The airbox cover is a small removable panel that gives access to the filter. The seat has its own cover, usually a grippy textured material that should not receive a decal at all.
- Front fender and fork protectors
- Radiator shrouds, left and right
- Side panels and airbox cover
- Rear fender and tail section
At the back, the rear fender and tail section form one long, narrow surface that carries the number plate area and, on street-legal versions, the lighting hardware. Each of these is a separate layer group in our files, so you can design them one at a time or as a continuous flow from nose to tail.
A practical habit is to photograph each panel from straight on, with a ruler beside it, before opening the file. Comparing that photo with the outline quickly shows whether holes, cut-outs and mounting tabs sit where you expect them.
Livery ideas that suit the Husqvarna TE FE 2016-2019
An enduro machine lives in mud, forests and rock gardens, so the Husqvarna TE FE 2016-2019 rewards graphics that stay readable when dirty. Large blocks of colour and bold diagonals survive a coat of dust far better than thin lines and small text.
Think in flows. A stripe that starts on the radiator shroud, crosses the tank area and continues onto the side panel makes the bike look longer and lower. A contrasting colour on the front fender and fork protectors ties the front end together.
Three directions to try
- Race team: a restrained base with sponsor-style blocks on the side panels and a clear number plate zone.
- Heritage tribute: a quiet palette inspired by classic enduro bikes, with simple geometry.
- Rally mood: sand tones, strong stripes and oversized numbers for a long-distance look.
Mind the seam lines. Panels are separate parts with small gaps between them, so a continuous stripe should be designed with intentional breaks rather than perfect alignment. Keep the number plate zone clear whatever direction you choose, and leave room for the rider’s race number.
Colour choices deserve a test in daylight. Fluorescent and metallic films can look very different outdoors, and a Husqvarna TE FE 2016-2019 is photographed in forests, fields and dusty tracks, so judge your palette on a sample piece taped to the real panel before printing the whole kit.
From Husqvarna TE FE 2016-2019 outlines to a finished kit
Open the file and start by hiding the layers you do not need. The Husqvarna TE FE 2016-2019 outlines are grouped by part, so you can work on a single panel without moving anything by accident. Lock each layer once its artwork is final.
Build your artwork larger than the outline, then trim it back. A bleed of about 3 to 5 mm around each edge gives your cutter or printer some room and covers small positioning errors. Add registration marks at the corners so that panels printed in sections can be aligned.
Keep colour work organised. Use CMYK if your printer profile expects it, or follow the profile your print shop supplies, and reserve a spot colour for cut lines only. Name layers after the part, such as front fender or left shroud, so the production file is easy to read.
Before exporting, check the scale by measuring a known distance on the artboard against the real panel. Then print a small test at actual size on paper, hold it against the plastic and verify holes, curves and edges before committing to vinyl.
Finally, keep a clean master file. Save one version with every layer visible for the client, one with only cut lines for the plotter, and one flattened proof. Three clear versions prevent most production misunderstandings, especially when several people handle the same job.
Printing and fitting a Husqvarna TE FE 2016-2019 kit: vinyl, heat and edges
Enduro plastics are semi-rigid and curved in two directions, so material choice matters. Cast vinyl is the safer option for deep curves because it relaxes and conforms. Calendered vinyl is stiffer and more economical, and it works better on flat or gently curved areas such as the side panels.
A clear overlaminate protects the print from roost, brush scratches and cleaning. Choose a laminate that matches your vinyl family, and let the printed ink degas before laminating, as your film maker recommends.
When fitting, clean the plastic with isopropyl alcohol and avoid any silicone product. Apply from the centre outwards with a squeegee, using gentle heat only where the film must stretch around radii. Too much heat shrinks the film or makes it shiny.
Wrap edges around the rim where possible, and finish with a short pass of heat to set the adhesive. Work at a moderate room temperature and avoid stretching printed areas, because stretching distorts both colours and lettering.
For small parts such as fork protectors, cut the vinyl in two pieces when a single sheet would have to stretch too far. A clean, almost invisible seam on a flat area looks better than a wrinkled single piece over a tight curve, and it is easier to replace after a crash.
Mistakes that spoil an enduro graphic kit
A Husqvarna TE FE 2016-2019 kit usually fails for a handful of predictable reasons. The first is designing on a flat screen without thinking about curves. A logo that looks perfect in a vector program can stretch or distort when it crosses a deep radius.
The second is ignoring screws, clips and openings. Fasteners and vents interrupt the surface, so keep text and faces away from them. The third is placing important details too close to an edge, where they fold over or get scuffed by boots.
- Skipping the paper test at real size
- Printing without bleed, leaving thin white gaps
- Applying decals over grip-textured seat covers
- Overheating cast vinyl, which dulls the finish
- Forgetting that mud and pressure washers attack open edges
Another common slip is mixing up left and right panels. Mirror your artwork deliberately rather than by habit, and label every layer before exporting. Finally, do not rush the first wash: give the adhesive at least a day to bond.
One more trap is trusting screenshots. A phone photo taken at an angle distorts proportions, and a design traced from it will not fit. Always take dimensions from the real Husqvarna TE FE 2016-2019 panel or from the 1:1 outline itself.
Choosing the right Husqvarna TE FE 2016-2019 year before you buy
Four model years and several engine types mean the Husqvarna TE FE 2016-2019 is not one single shape. Before you buy any template, look at your bike and note which engine it has, which year the registration papers list, and which version of the plastics is fitted.
Check three points directly on the machine. First, the tank area and radiator shrouds, which carry most of the livery and are the parts most likely to differ between years. Second, the fork protectors, since the 2016 announcement mentioned new ones with in-mould graphics. Third, the rear section, especially on street-legal versions with lighting.
Also remember that replacement plastics are often fitted after a crash, so the panels on a used bike may not match its stated year. Measure the real part and compare it with the product description.
If you are unsure, compare clear photos of your parts with the product page before ordering, and never assume that two years share identical plastics.
Finally, think about how the bike is used. A competition machine that is stripped and rebuilt often needs a kit that is quick to replace, while a showpiece can justify a more elaborate multi-layer design. The Husqvarna TE FE 2016-2019 suits both, as long as the plan matches the way it is ridden.
How This Template Is Built
This Husqvarna TE FE 2016-2019 vector template is rebuilt as a fully editable vector outline from the real panel proportions of the Husqvarna TE FE 2016-2019, rather than a rough tracing or a stretched photo. Working at true 1:1 scale means printers and installers can output panels straight from the file without rescaling, which keeps stripes, sponsor logos and pinstripes aligned exactly where they were designed.
Because the panel outlines are kept as separate, editable shapes, you can turn individual sections on or off while you design and export only the panels you actually need for production. On a vehicle of this kind (motocross or off-road bike), the typical panel groups include the front fender, radiator shrouds, side number plates, airbox cover and rear fender. Before printing, always measure a panel on the real vehicle against the file, since small production differences can happen and a quick check avoids a costly reprint.
What You Can Use This Template For
- Motocross decal and graphics kits
- Race team and sponsor graphics
- Number plate and rider name designs
- Full or partial vinyl wrap layouts
- Custom race liveries
This Husqvarna TE FE 2016-2019 vector template suits race teams and riders preparing a new graphics kit, wrap shops quoting jobs sight-unseen, and sticker manufacturers who need a reliable base file instead of starting from photographs. Because the panel outlines are separated rather than merged into one flattened shape, you can isolate a single panel and export only what you need, which saves time when a project only touches part of the vehicle.

Files Included and How to Use Them
After purchase you get an instant digital download of the Husqvarna TE FE 2016-2019 vector template in three formats. A typical workflow takes only a few steps:
- Download the file from your account or order email right after payment.
- Open the AI, PDF or CorelDRAW version in your vector software.
- Hide the panels you do not need and place your graphics, logos and colors on the rest.
- Print one test panel at 1:1 and check it against the real vehicle.
- Export the final artwork for your printer or cutter.
Printing, Scale and File Notes
Before you print this Husqvarna TE FE 2016-2019 vector template, remember that it is built at real 1:1 scale, so the safest workflow is to print a single test panel first and lay it against the actual Husqvarna TE FE 2016-2019 before committing to a full print run. A short test print is cheap insurance against a wasted roll of vinyl, especially around curved sections.
The vector layers are grouped by panel, which keeps the file manageable if you only need a subset of the panels, useful for a partial wrap, a single panel graphic or a small decal pack. If you run into a fitment question that is not covered here, reach out before you print. We would rather answer a quick question in advance than have you reprint a panel.

Also in our catalog: Husqvarna TC FC FS 2014-2015 TE FE 2016 Vector Template, Husqvarna TE FE TC FC 2019-2023 Vector Template, Husqvarna TC FC FS 125 250 350 450 2019-2022 Vector Template, Husqvarna TC FC 125 250 450 2016-2018 Vector Template, Husqvarna TC 50 2017-2022 Vector Template, Husqvarna TC FC 125 250 300 450 2025 Vector Template.
Browse all Husqvarna vector templates.
Moto Template Pro is an independent design resource and is not affiliated with, endorsed by, or sponsored by Husqvarna or any manufacturer.
Which model years does this Husqvarna TE FE 2016-2019 vector template cover?
This template is built specifically for the Husqvarna TE FE 2016-2019.
Which panels carry the most graphics on a Husqvarna TE FE 2016-2019?
The radiator shrouds, side panels and front fender carry most of the visible livery, with the tank area and fork protectors close behind. The seat cover is textured for grip, so keep decals off it. Plan large artwork for the shrouds and side panels and use small accents elsewhere.
Is cast or calendered vinyl better for a Husqvarna TE FE 2016-2019?
Cast vinyl is the better choice for deep curves such as shrouds and fork protectors, because it conforms without pulling back. Calendered vinyl is stiffer and works on flatter surfaces such as side panels. If one kit mixes both, keep each material to the area it suits.
Do I need to remove the in-mould graphics before applying a kit on a Husqvarna TE FE 2016-2019?
Not always. In-mould graphics are part of the plastic, so vinyl only hides them if it is opaque enough and the surface is clean and dry. Test a small hidden area first, and consider a white or opaque base layer under dark artwork so the original print cannot show through.
How can I make a kit survive mud and pressure washing on a Husqvarna TE FE 2016-2019?
Seal the edges: wrap them around the rim when you can, use a clear overlaminate, and let the adhesive cure for at least a day before the first wash. When cleaning, keep the pressure washer lance away from edges and seams, because water driven under a corner lifts vinyl quickly.
What number plate layout works best on a Husqvarna TE FE 2016-2019?
Choose a high-contrast background and large, simple numerals that stay legible at a distance and through a layer of dust. Keep the numbers away from screws and vents, and always check the event rules for size and colour requirements before you print the final panels.
Is this template compatible with other models?
No. Each model and generation has different bodywork, so this template is specific to this platform and differs from every other template in our catalog.
What file formats are included?
The template is provided in Adobe Illustrator, PDF and CorelDRAW, all as editable vector layers rather than a flattened image.
How is the file delivered?
As an instant digital download available immediately after purchase, with no physical items shipped and no waiting on a production schedule.
Is this an official Husqvarna product?
No. Moto Template Pro is an independent business, not affiliated with Husqvarna.

Husqvarna 701 Supermoto & Enduro 2025 Vector Template
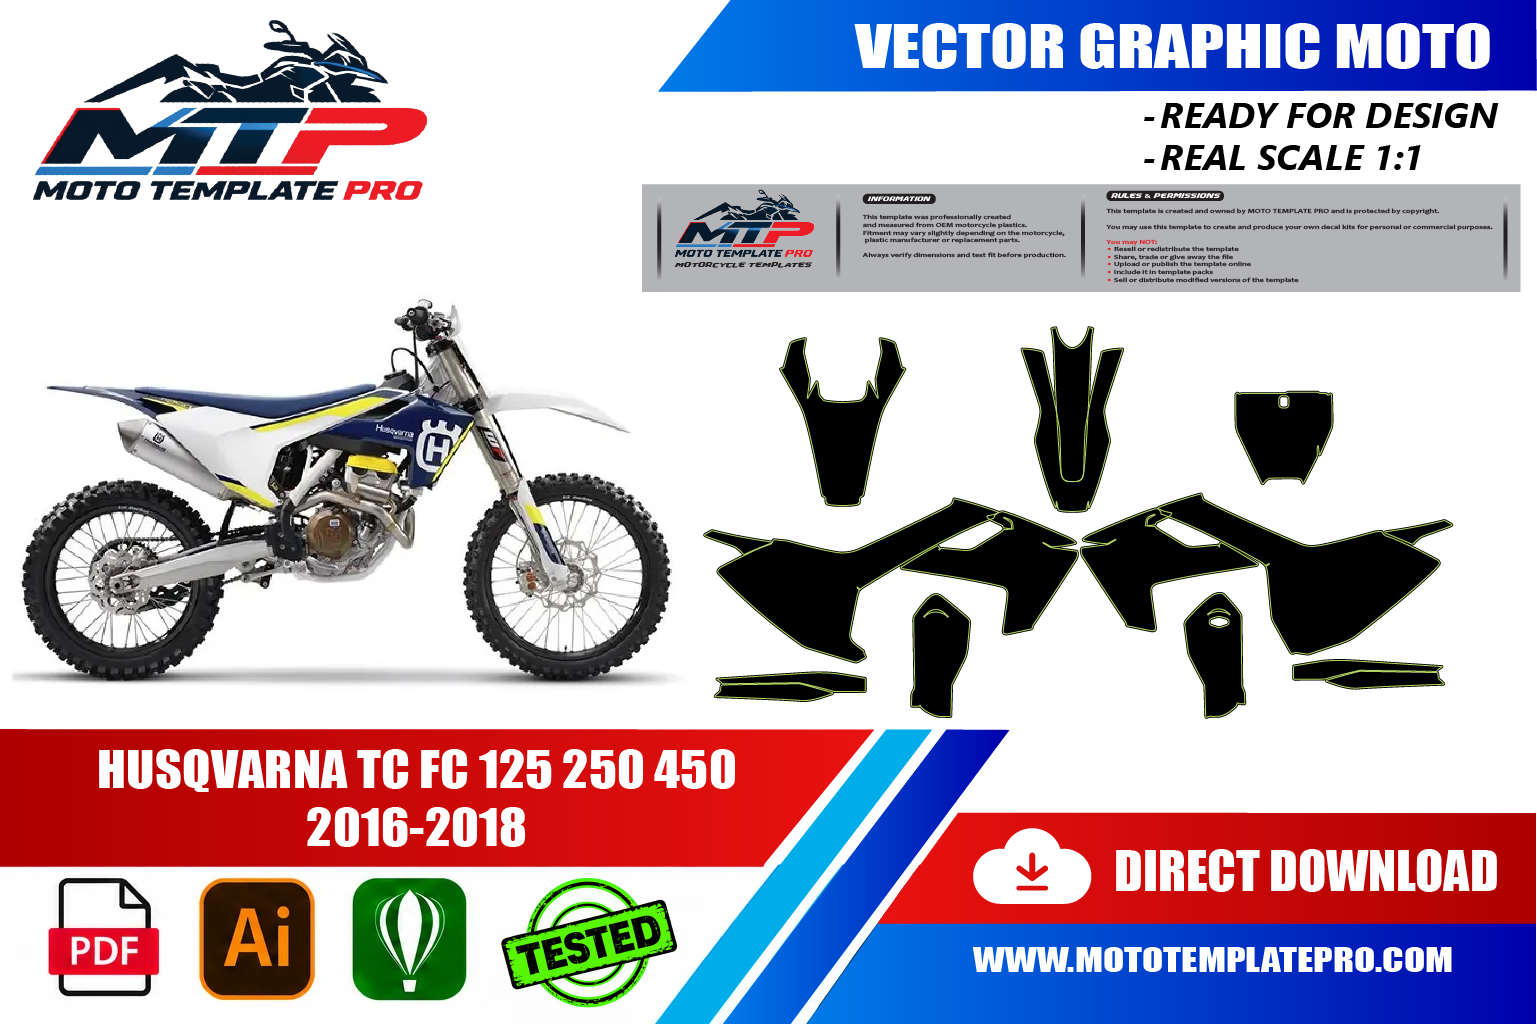
Husqvarna TC FC 125 250 450 2016-2018 Vector Template

Husqvarna TC FC FS 2014-2015 TE FE 2016 Vector Template

Husqvarna TE FE TC FC 2019-2023 Vector Template


Reviews
There are no reviews yet.